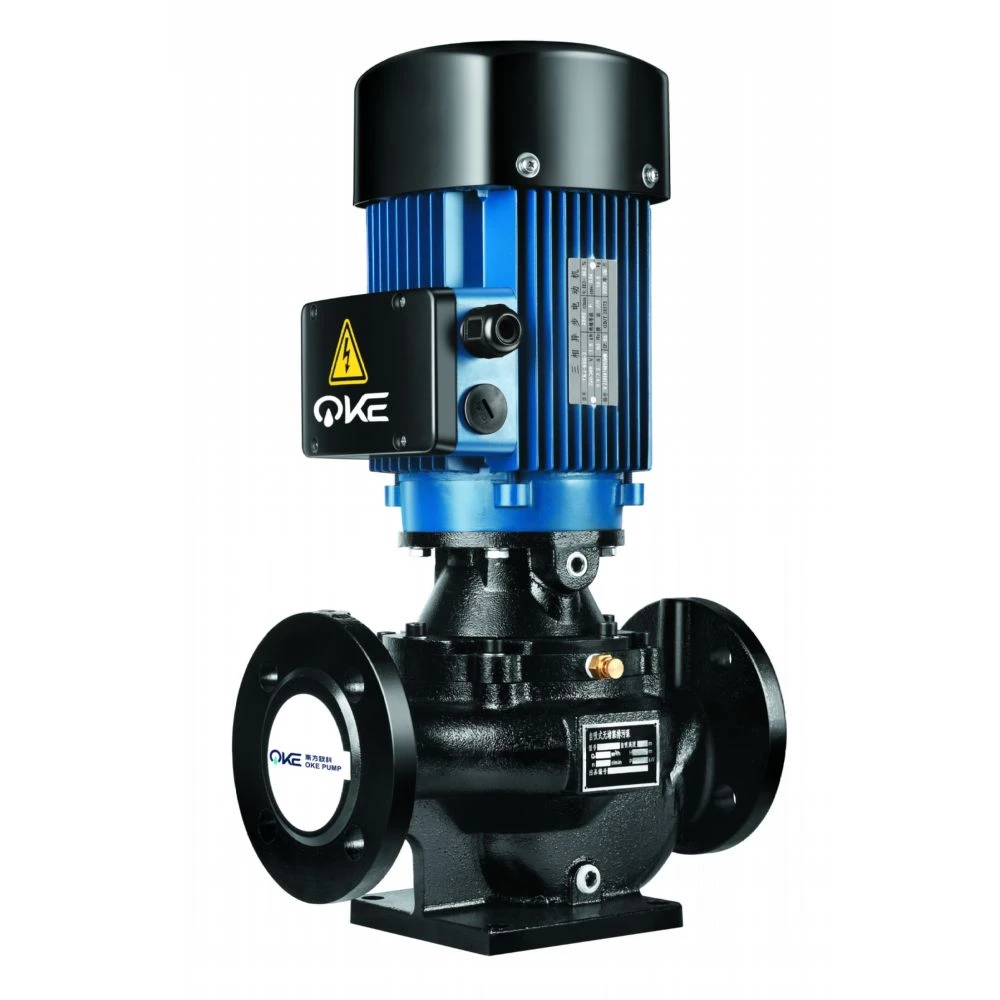
Pre-disassembly Preparation
Power Disconnection and Pressure Relief:Turn off the power supply to the pipeline pump and ensure the equipment has completely stopped running. If the pump is connected to a pressurized pipeline, relieve the pressure to atmospheric levels first to prevent injury from high-pressure liquid spray.
Tool Preparation: Prepare tools based on the impeller's mounting method. Common tools include:
Open-end wrenches or socket wrenches (for removing pump casing connection bolts);
Specialized impeller removal tools (e.g., impeller pullers for interference-fit impellers);
Copper rods or rubber mallets (for gently tapping parts loose);
Screwdrivers and hex keys (for removing impeller locking nuts or locating pins).
Protective Measures: Wear protective gloves and safety goggles to prevent injury from metal debris or residual liquid. If the pumped medium is corrosive, additional chemical-resistant protective clothing is required.
Disassembly Steps
Scenario 1: Standard Pipeline Pump (Impeller secured by a nut)
Remove the Pump Casing End Cover:
Use a wrench to loosen the bolts connecting the pump casing to the motor, then separate the casing from the motor assembly.
If the pump casing features a split design, first remove the casing cover mounting bolts and take off the cover.
Remove the Impeller Locking Nut:
Check the center of the impeller for a locking nut (usually hexagonal or with a hex socket); use the appropriate tool to unscrew it counter-clockwise.
If the nut is rusted, apply a penetrating lubricant or use a heat gun for localized heating (keep the temperature below 100°C to avoid damaging seals).
Remove the Impeller:
If the impeller has a clearance fit with the shaft, it can be pulled off axially by hand or with a puller tool.
If it has an interference fit (e.g., a shrink-fitted impeller), use a hydraulic puller or specialized tool to extract it slowly; avoid forceful hammering, which could deform the shaft or impeller. When tapping, place a copper rod against the impeller edge and apply force evenly to prevent damage caused by off-center impact.
Scenario 2: Easy-disassembly inline pump (such as the type mentioned in the query)
Leverage the easy-disassembly design:
Easy-disassembly inline pumps typically feature quick-release interfaces, such as clamp connections or threaded caps.
Loosen the clamp bolts or unscrew the pump cover to directly expose the impeller assembly, thereby reducing the number of disassembly steps.
Remove the impeller:
The impeller may be secured by a snap ring or a locating pin; remove the snap ring using a screwdriver or needle-nose pliers, then pull the impeller off along the axis.
If the fit between the impeller and the shaft is tight, gently tap the end of the shaft (using a block of wood as a buffer) to loosen the fit through vibration.